Inside the  Roper Solar Greenhouse
215 Maywood Street, Blacksburg, Virginia
Located in the Hale-YMCA Community Gardens
Back to the main YMCA Solar Greenhouse web page
YMCA Solar Greenhouse Construction Pictures
Heat Sink
Operation Data
Contents
There are several steps required to complete the inside of the YMCA Solar Greenhouse:
- Install the lighting (6 inside and one outside above the door).
- Build the walkway with Hardie board sides screwed to 2"x4"s to hold them together and #57 rocks on the inside. Insert a 4" slotted drain pipe in the middle of the rocks.
- Lay down the tarp pieces on both sides of the walkway. Drill 1/4" holes 6" apart in the tarp.
- Haul in the soil parts and mix them or mix them before hauling in.
- Lay the tarp piece on the walkway. Drill 1/4" holes 6" apart in the tarp.
- Build the Trex walkway.
- Install the heat-sink fan, its two thermostats and its variable-speed switch.
- Install the vent-windows' openers and the exhaust fan in the west vent window.
- Install the two ceiling fans.
Installing Electrical
Estimate of maximum electrical usage:
- 425 watts for fans
- 400 watts for water pump
- 300 watts for lighting (LEDs and CFLs)
- Total = about 1135 watts.
Eventually there will be battery backup for times when line power is interrupted.
Fans and vent windows
There are two thermostats for the heat-sink fan:
- Heating thermostat: turns fan on at 50°F and off at 59°F.
- Cooling thermostat: turns fan on at 70°F and off at 61°F
There is a thermostat that opens (90°F at window height) and closes (70°F at window height) the two vent windows and another thermostat in the fan that turns on (95°F at window height) and off (75°F at window height) the exhaust fan at the west vent window.
There is a thermostat that turns on (90°F at fan height) and turns off (70°F at fan height) the two ceiling fans.
LED/Fluorescent Lights
Some of the six interior light bulbs will be 9.6-watts LEDs, others will be compact fluorescent bulbs. They will cut down greatly the use of electricity for lighting and on the problem of replacing bulbs in the six ceiling lights
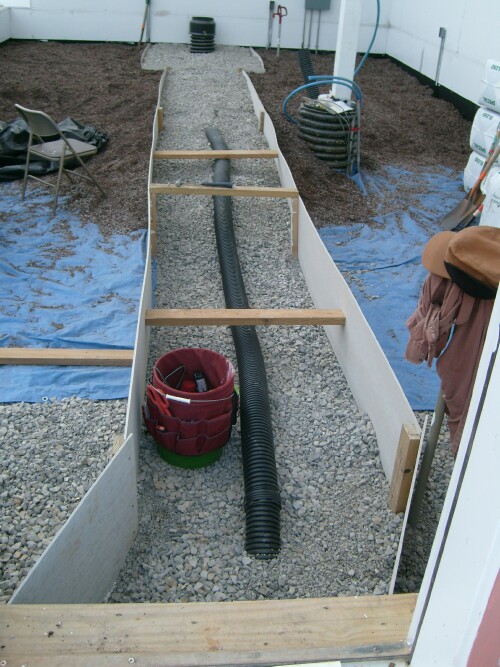
Building the walkway
The walkway is built with #57 stone up to near the door level with Trex boards on top. About 7.5 tons of rocks are needed. One 4" slotted drain pipe connected to the two end 24" pipes is inserted in the middle of the stone as part of the heat sink..
A piece of the 5/16" Hardie board is used between the rocks under the walkway and the soil on both sides of the walkway. Cut three 4'x8' sheets into three pieces 16"x8'. Scrap 2"x4"s hold it in place with screws while the rocks and soil are put in place.
The Hardie board extends up to the level of the Trex walkway.
"Due its concrete fibers, Hardie plank is impervious to any external elements, such as rain, hail, wind, flying debris, and humidity. Not only will cement board siding not chip because of its strength, it doesn't retain moisture either; therefore it never rots or swells."
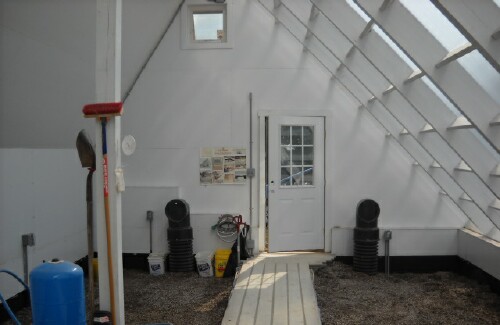
Because the door was not put exactly in the center of the east-end wall, the walkway has to be bent near the east end:
It is about 7’10” between the edges of the walkway and the and north and south walls. My idea is to have two 6’x1”x12” boards that can be moved to anywhere north-to-south for walking on to reach the north and south ends of the two planting beds.
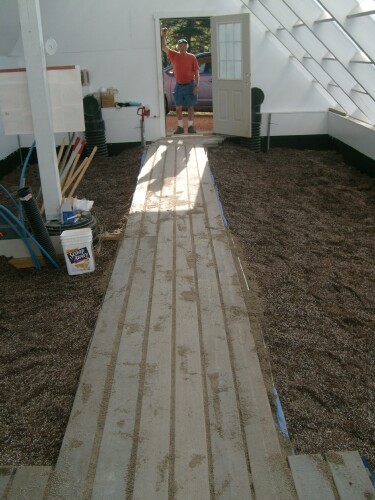
 The Trex boards for the top of the walkway were donated by Green Valley Builders.
Back to the top
Installing Planting Beds
Soil mixture
- 10% Builders Sand (2.7 cu yards) (Does not need to be sterilized).
- 70% Sungro (18.9 cu Yards)
- 20% Top Soil (5.4 cu yards)
: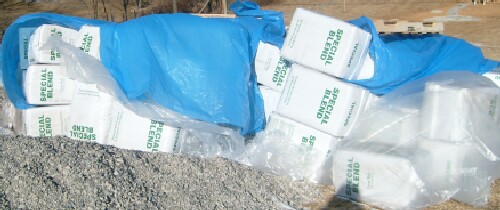
Sun Gro donated 75 bales of Organic #1 Mix
John Ogburn donated 5 more bales.
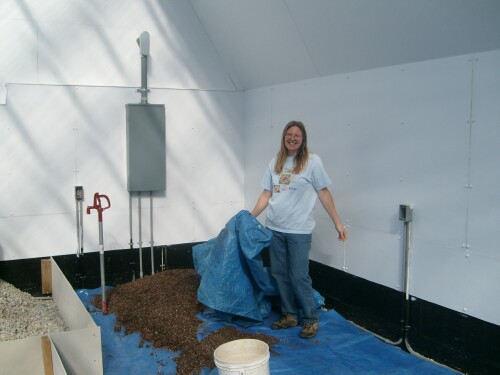
Installing the soil
Debbie Wiley starting putting soil inside:
 |
Hardie-board boundary between the rocks under the walkway and the soil:
 |
Debbie Wiley after putting soil inside:
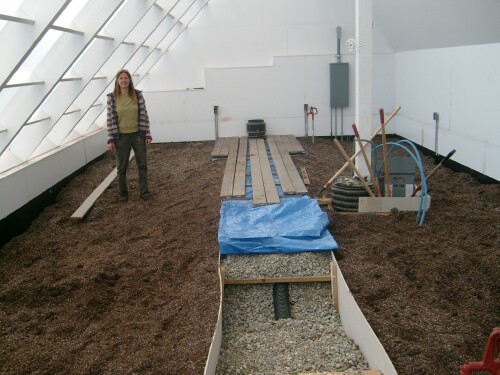 |
Walkway rocks in place:
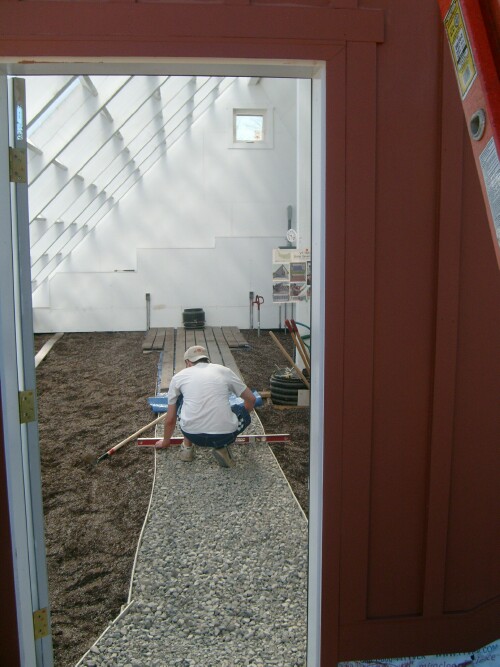 Berek Crawford did much of it. |
Walkway almost done:
 |
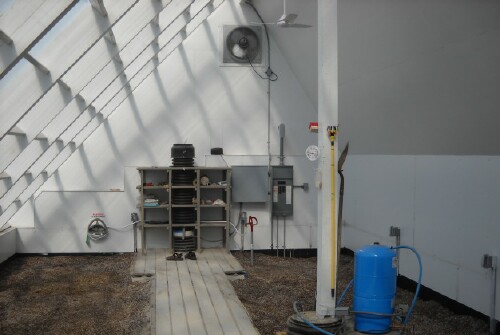
Concrete pad is ready for the water tank:
 |
Heat-sink fan wired and shelves built around the heat-sink inlet pipe: 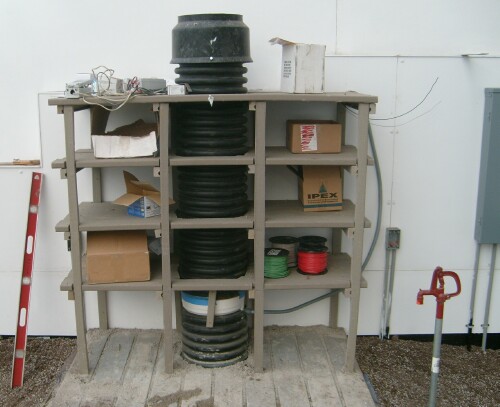 |
|
The plastic piece under the screen (take out by pushing up on it) snaps up, revealing screws that held the crank opener in place. A small screen was placed over the hole between the opener and the window frame to keep bugs out.
|
|
Installation of the exhaust fan by Chris Roberts:
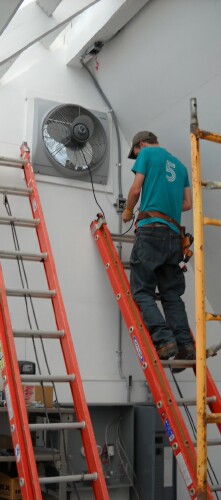
For a redesign, put in a larger vent window and exhaust fan.
|
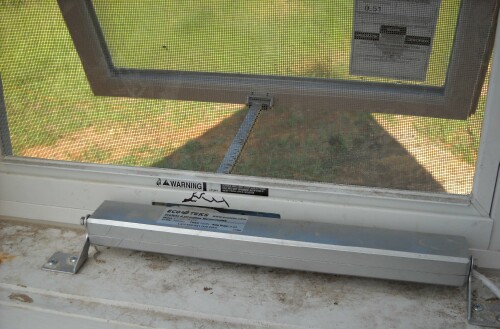
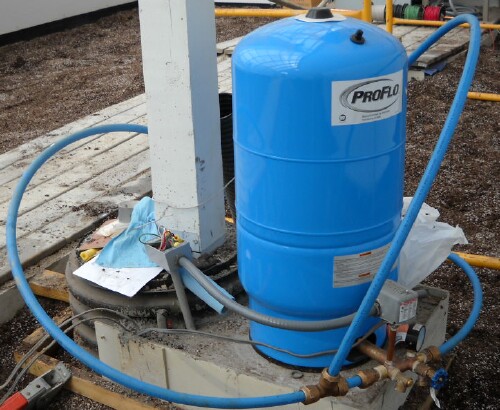
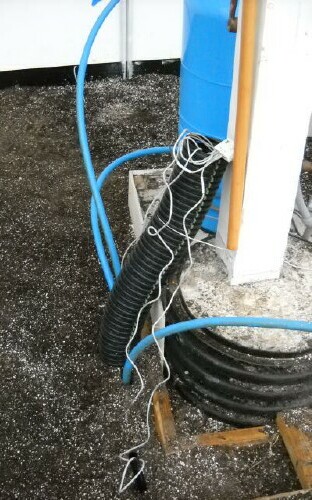
Water tank installed:
 |
|
Fans & windows control box installed:
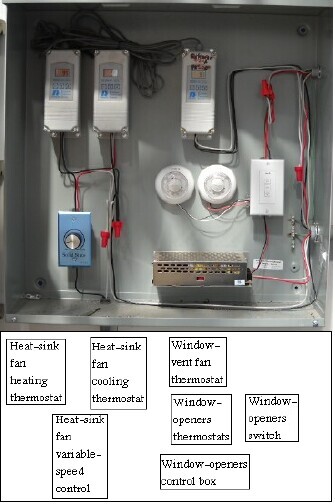
There is a front cover to the control box, which is swung out a few inches at the bottom to let greenhouse air in. However, the air inside the control box might still be different than the air in the greenhouse. The 3 main thermostats at the top left in the control box have probes on long wires, so the 3 probes are placed outside the control box. That leaves only the 2 circular window-opening("hot")/closing("cold") thermostats’ temperature sensors inside the control box. So, the 2 window-opening/closing thermostats are set at 75 degrees to open and 55 degrees to close. The vent-window-fan thermostat is set at 85 degrees to turn on and 65 degrees to turn off. Thus, up to a 10-degree difference between the air inside the control box and the greenhouse air will be ok.
The blue switch/rheostat on the lower left turns the heat-sink fan on/off and varies the fan speed. The white switch on the right manually opens (top button) and closes the vent window (bottom button); it only works when the "hot" circular window-opening thermostat is set to its maximum temperature and "cold" circular window-opening thermostat is se to its minimum temperature.
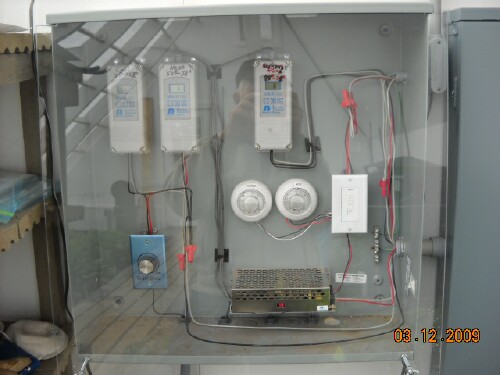
Later a plexiglas front panel was installed, so that the insides can be seen:
|
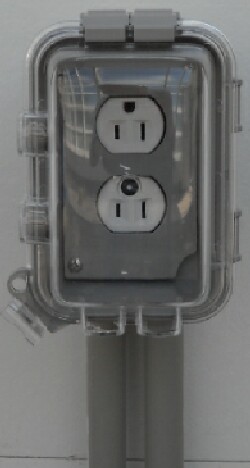
Outlets installed:
 |
Finished YSGH, except for compost and worm castings:
 |
A CO2 monitor with a data logger that records temperature, relative humidity and light intensity is mounted above the broom. The logger sensors face the back wall.
|
Four heat-sink and soil-temperature probes and data logger.
|
Compost and worm castings installed: 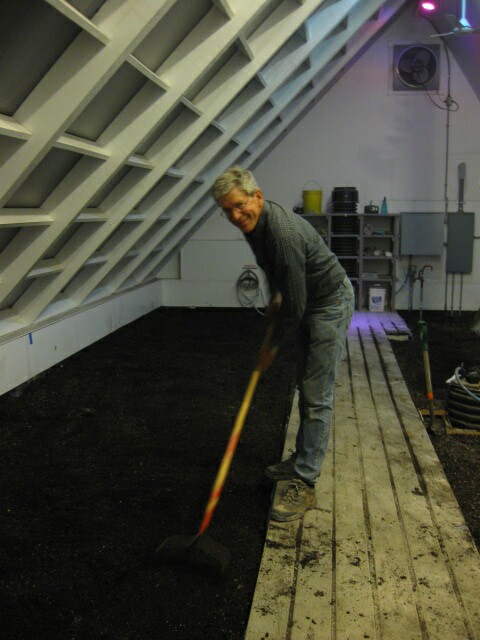
John Ogburn, an initial grower
|

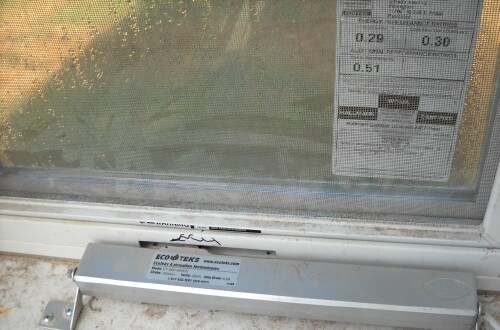
John Ogburn helping Dave Roper install a 300-gallons backup water tank. In extends about 18" below the black line to the top of the heat sink.
|
|
Installing the heat-sink fan
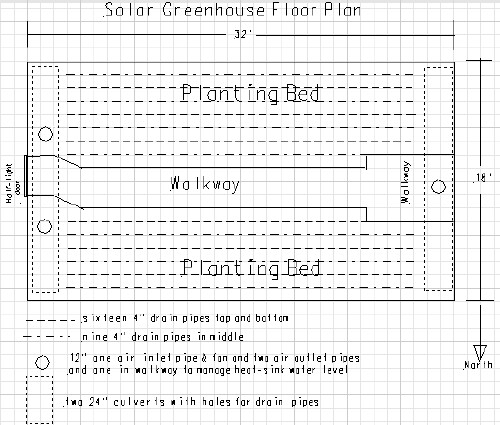
Plans for the heat-sink inlet pipe and fan location on the west end:
- The 12” vertical air-inlet pipe is in the middle of the horizontal 24” pipe at the west wall.
- The 5’ turn-around at the west end of the walkway will end just before the vertical pipe that holds the fan, which makes it end about 2’ from the west edge of the SGH.
- The fan is placed 2’ above the top soil. There is a 12” adaptor into the 24” pipe with a 2’ section of 12” pipe coming out of it on which the fan is placed. Then another piece of 12” pipe extends the inlet pipe to 6’ above the top soil.
- A series of 5’-long shelves up to 5’ above the top soil surrounds the inlet pipe for holding the vertical pipe in place and for storing planting items.
Back to the top
L. David Roper, http://arts.bev.net/RoperLDavid/; roperld@vt.edu
19-Jun-2010